Here’s a couple things I learned this week working on a projection mapping job. UV tricks in Houdini, and homemade C4D style shader effector in Touchdesigner.
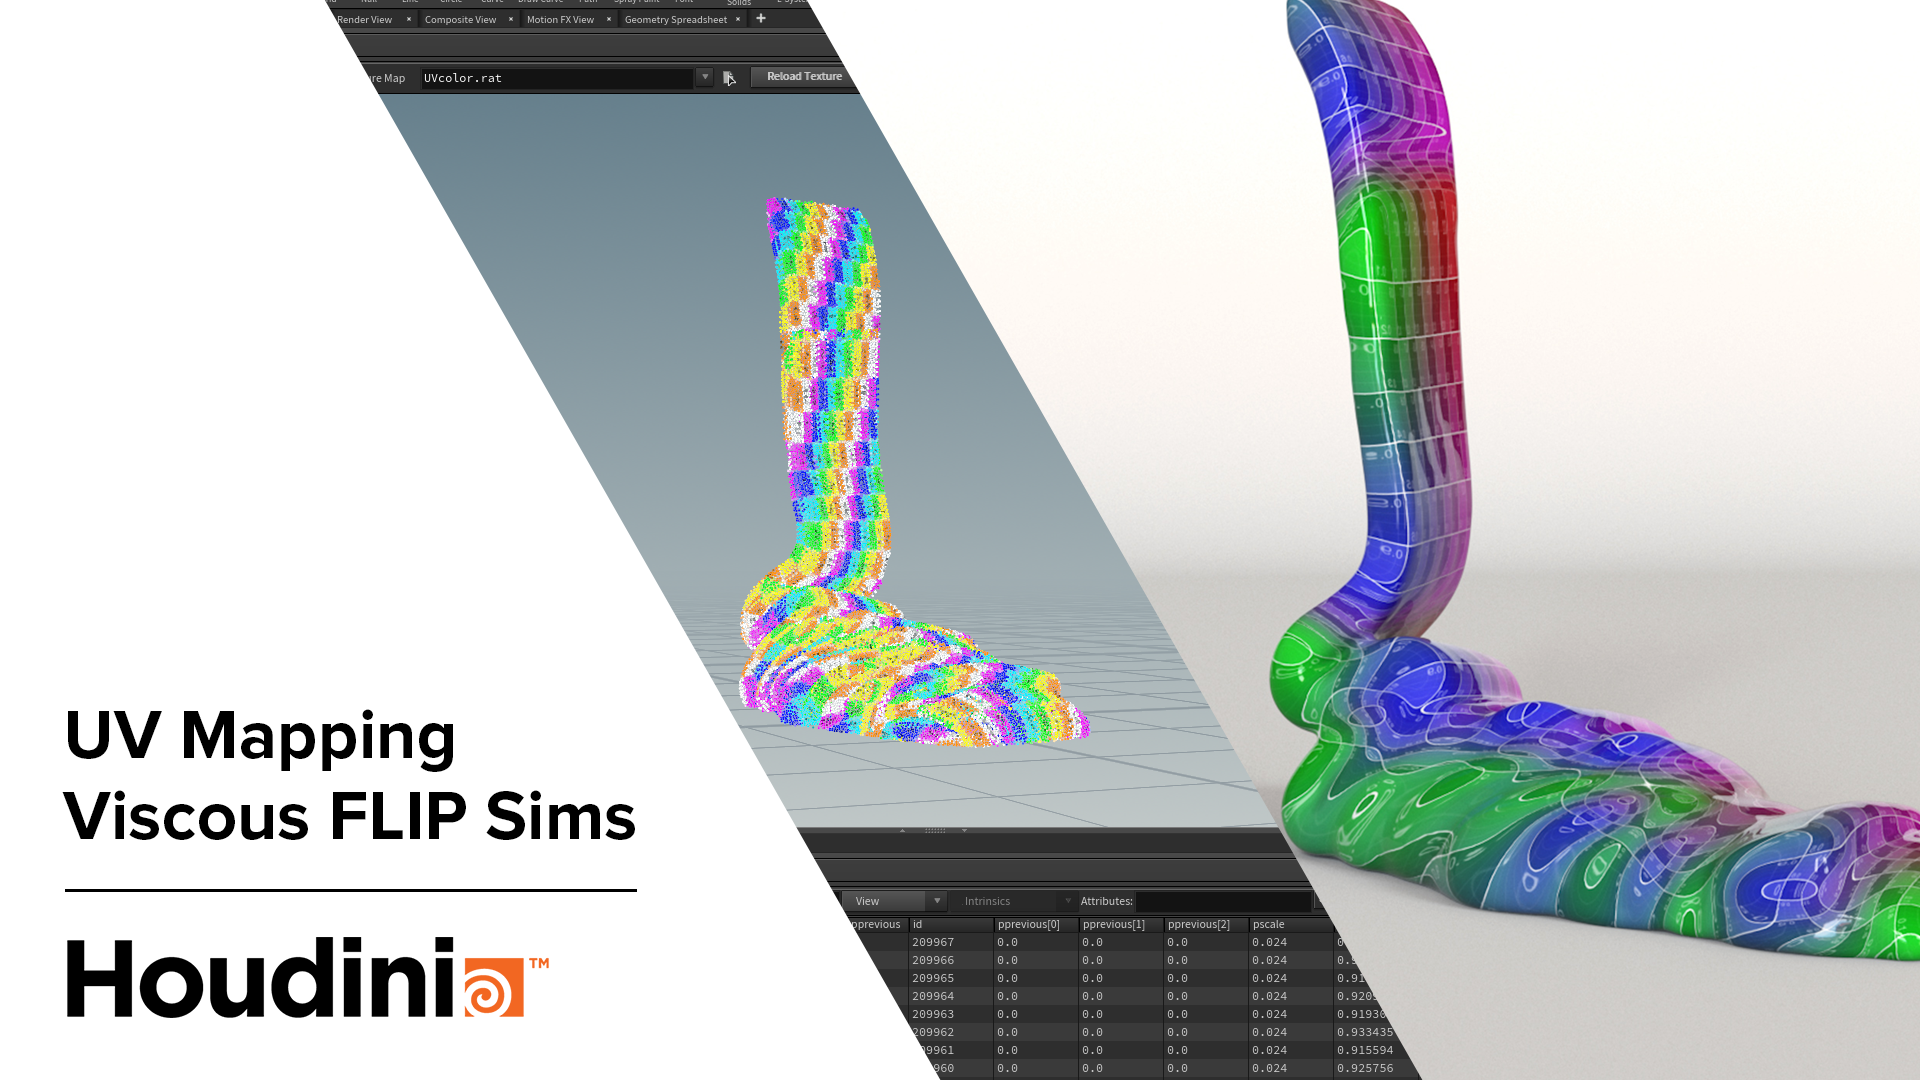
UV tricks in Houdini. As I said last week, I’m rendering to UV. The on site sculpture has around 52 planar faces, for the content I’ve added a ton of extruded detail panels. I need to put those UVs somewhere. For performance they need to be in the same tile as the main uvs.
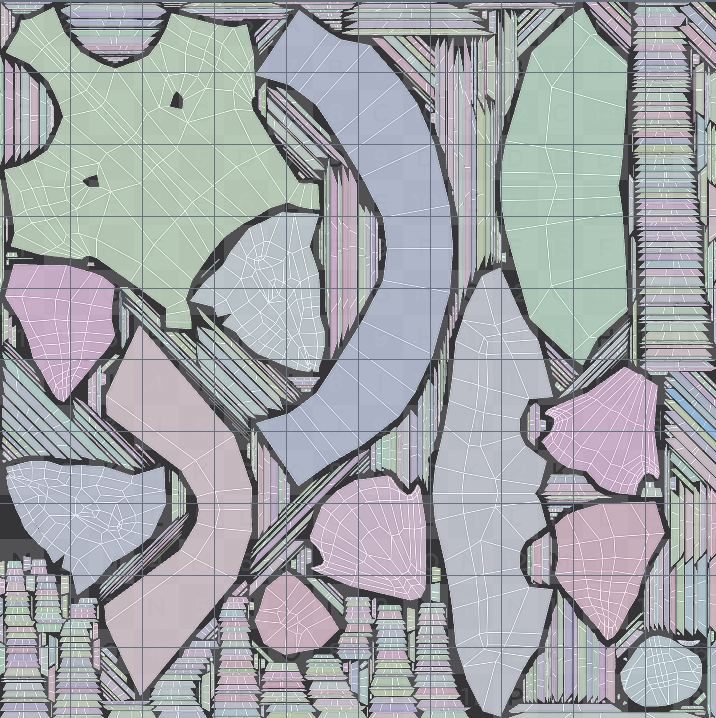
The UV layout SOP has an option to pack uvs into the islands of geometry coming in on it’s second input. Easy concept, setting up the template island is the trick. Take the orig geo, transform it’s world space coords to uv space (in the 3d viewport) and extrude.
Create a 1 x 1 plane, matching the space of your transformed uv geo. Boolean the two, leaving the padding from the orig uvs. Create uvs for the plane, using UV project, fit to best plane. Now feed this into the UV layout SOP. Boom. You’ll need to adjust settings, but that’s it.
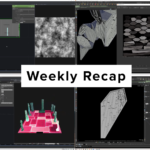
The second huge task for the week was building a system in Touchdesigner that let me instance a movie file on a grid and control the playback of each via the greyscale value of pixels in a corresponding movie. It feels as hard to explain as it was to build. Pictures are easier.
Setting up the instances isn’t hard in TD, but coming from C4D or Houdini it feels a bit obtuse. To instance directly onto points, specify a sop in the instance tab of a geo container. The geometry you have inside the geo will be instanced.
Before going further I’ll assign my texture. I feed my movie file into a Texture3D TOP. This pulls x number of frames into a stack of frames. Feed the tex3d into a mat, then when assigned to your geo, you control how the images are assigned in the instance 2 tab (later step)
Controlling the instances gets harder. You have to do this via channel data. Any control channel will need the same number or samples as instances present… makes sense. Since I want to drive my instances via a movie file, I’m going to need to convert my movie TOP to a CHOP. Easy
But, I need the entire frame, not just one row of pixels (which oddly is the default). Converting the whole image will give me one channel per row of pixels… close. Now I need to string these out so I have one long channel with one sample representing each of my instances.
I used the Splice CHOP to join the channels. Actually I used a lot of Splice CHOPs because I couldn’t figure any other way to do it. Splice will join two channels, I had 12.
Now finally I have my driver movie being converted to one mega long channel, all I need to do now is feed it into my texture settings on the instance 2 tab of my geo container.
Thanks if you made it this far in the mega thread. Hope it helps if anyone is trying to do similar things, or at least gives a little glimpse of what goes into building set ups like these. Now time for work.